A Step-by-Step Process for Interior Painting
Interior painting is one of the best and most affordable ways to brighten up your home or business.
Quality residential painting services can transform a dull space into a welcoming oasis or inspiring setting. The key to assuring an outstanding interior paint project is proper preparation.
Below we’ll be outlining a step-by-step process for interior painting. Having a detailed checklist to follow will help you prepare your tools and supplies ahead of time and anticipate any potential obstacles.
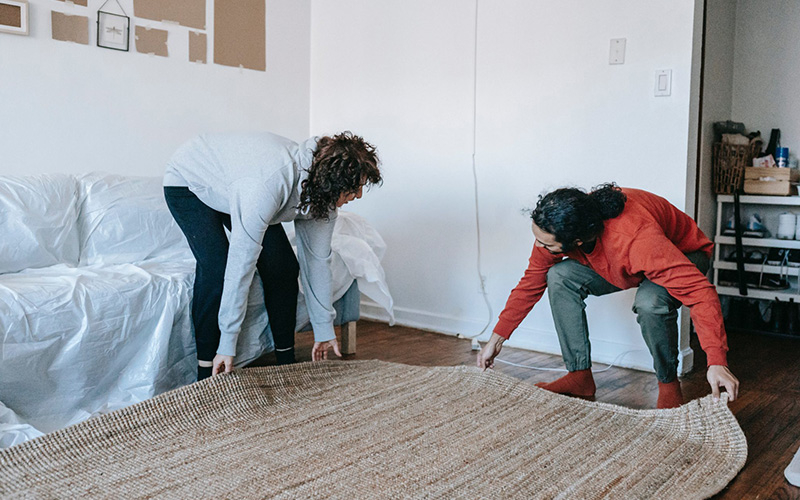
1. Move furniture and cover floors
Move furniture out of the room or into the center of the room, then completely cover the furniture and floors. If it feels tempting to skip this step, imagine finding drops of paint on your sofa or rug after the paint has dried and set in. It’s a nuisance and dead giveaway that you were rushing along.
Moving furniture out of the room is ideal since it will allow you more space to work. If you’re keeping it in the room, you can use painter’s plastic, drop cloths, or traps to cover it and the flooring.
2. Prepare the wall
Look for imperfections on the wall you’ll be painting and take care of those now to ensure a quality end result. Scrape away any loose or bubbling paint. Remove outlet covers or nails in the wall. Fill in holes and patch any cracks on the walls, ceilings, or trim that you plan to paint. Use a lightweight joint compound, and when it has dried, sand the imperfections to match the smoothness of the wall. Use caulk to fill in cracks around trim and windows as needed. Gently wash the walls with a sponge and warm water.
3. Prime
You should apply primer when painting over newly installed or unpainted drywall, sheetrock repairs, patches, or dark paint colors. The only time it might be safe to skip priming is if you’re doing a small touch-up or painting a clean wall a similar shade.
Applying primer helps ensure any stains do not bleed through and that the paint adheres to the surface properly and optimally. Reliable residential painters generally tint primer toward matching the finished color.
4. Paint
Use high-quality paint with the proper finish for the best results, and be sure to read all of the product instructions.
Use a brush to paint a border (also known as cutting in) along the room corners, windows, doors, trim, outlets, switch covers, and any other architectural elements. For the main expanse of the wall, dip a roller in the paint, get rid of any excess paint, and fill in your target area with paint.
We suggest going in order from left to right and from top to bottom, with your paint lines overlapping a few inches. Apply light pressure so that the roller and paint do their job. Pressing too hard can create drips that are challenging to cover evenly.
Allow the first coat to dry before applying a second coat. Check the paint can for the recommended drying time.
Reliable Painters Near Me in Philadelphia and Media, PA
If you have a painting project (or several) on the docket and are looking for trusted, professional residential painting services in and around Philadelphia and Media, PA, call Heiler Painting at 610-818-7920 or request a quote here. Our team of experienced professionals can assess your surfaces and have the proper tools, equipment, and high-quality supplies to ensure exceptional and long-lasting results. Your needs as a customer always come first, and we look forward to being of service!